What the tape measure says
Twenty-eight centimetres deep is why it exists.
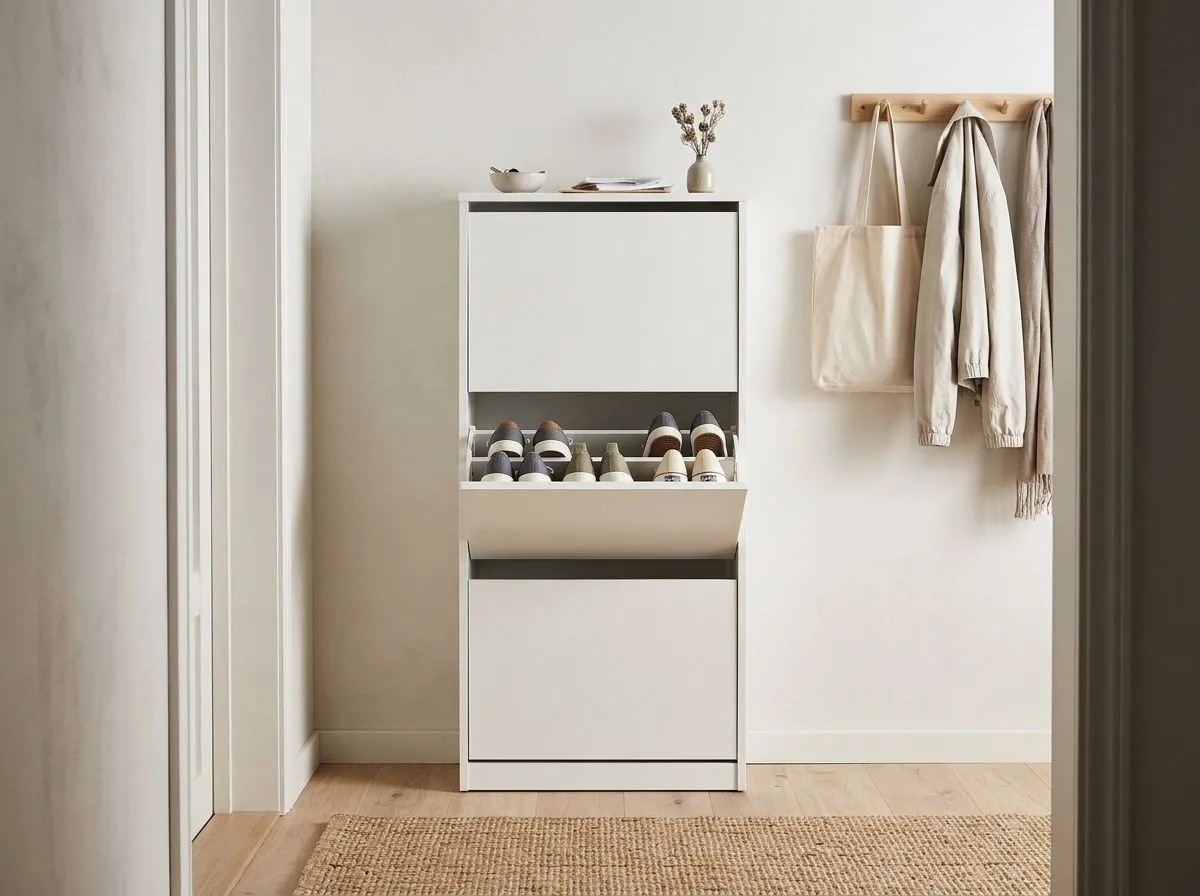
49 cm wide, 28 deep and 93 tall, with about 8 pairs inside. The depth is the reason to buy it, and the width is the reason to check your shoes first.
A couple more room tipsListed size 49 cm wide, 28 cm deep, 93 cm tall, holding about 8 pairs across two compartments.
What the listing does not say
The width is fine. Your shoes might not be.
Forty-nine centimetres wide, 28 deep and 93 tall, on a low plinth with no separate legs. Two fold-out compartments sit one above the other, each front a plain white panel with no handle. Inside each compartment there are two shoe levels, and each level is split by a divider that can be moved or taken out. The listing says about 8 pairs, which works out at two pairs on each of four levels.
Every low review of this cabinet is about size rather than construction. Owners put the ceiling at about a UK 9, say men's size 10.5 goes in but wedges and squashes the laces, and report that bulky trainers will not go two across. The centre divider is the constraint: it splits 49 cm into two halves that are each just wide enough for one adult shoe.
The same constraint works the other way. Owners report ten pairs of heels, or four pairs of children's shoes in one compartment, because narrow shoes go two across comfortably. Capacity is not fixed at eight pairs, it is whatever your shoe shapes allow, which is why the useful advice is to take two pairs you actually wear to the store.
The shoe board inside each compartment has three height settings, and it is set during assembly, not afterwards. That is the decision to make before you build: chunky soles need the board in its lowest position, and a pair of ankle boots needs the board and the divider out altogether, turning one compartment into a single tall space at the cost of the pairs it would otherwise hold.
The fold-out mechanism is plastic, and the screws that hold it go into board. That is where these fail. Long term complaints describe screws working loose as the holes enlarge, pivots cracking and a compartment dropping, with repairs done in glue and dowels because the fix is not in the parts bag. Owners with decade old units report no failures at all, and the difference appears to be assembly: hand tighten, do not use a power driver, and do not overtighten into the board.
It must be fixed to the wall, and the reason is geometry: 93 cm tall on a 28 cm footprint is front heavy the moment a compartment is open. Independent testing found it can tip forward while shoes are being taken out, especially when the top compartment is fuller than the lower one, so load the bottom first and anchor it. The back has a cut-out for the skirting board so it sits flush, which also leaves the back open: several owners ask for a full panel, and the open back is the same feature that lets shoes air.
Wipe with a cloth dampened in a mild cleaner and dry with a clean cloth. Tighten the compartment screws by hand, never with a driver. Anchor it to the wall before loading it, and fill the lower compartment first.